After creating my first scrapbook page using my new Documented Templates 1 this week, I thought I’d share my process for putting together my weekly pages
1. I open Photoshop and save the template with a new name (e.g., 1_Week_2025).
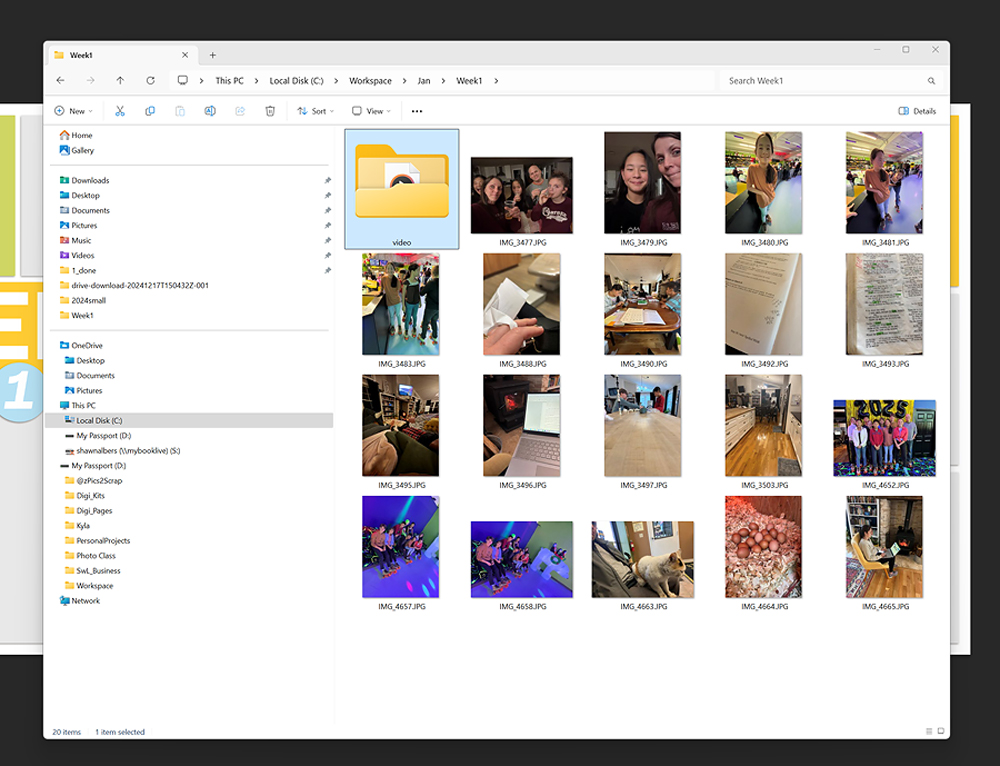
2. I gather all the photos and videos from my phone, as well as any from my husband and sometimes my adult children, depending on the week’s events. I organize everything into folders by Year > Month > Week, placing all videos in a separate folder. Then, I delete any duplicate photos or ones I know I won’t use.
3. I use Clipchamp to compile all my videos into one clip. I download the video to my weekly photo file.
4. I upload that video to youtube.
5. I copy and paste the video link into QR Stuff and download the QR code to my pictures file.
6. Next, I place my photos and QR code onto the template. If you need more details on how to use digital scrapbook templates, you can find my tutorials here.
7. Then I use RadLab to edit my photos.
And here's my finished page!
Documented Templates 1 by Scrapping with Liz
Everyday Project 2025 by Dunia Designs
-Liz


No comments
Post a Comment